nginx-proxy-manager
nginx-proxy-manager
Nginx-proxy-manager is a simplified GUI for handling an nginx server configuration. Nginx is a reverse proxy server.
A reverse proxy server is a type of proxy server that typically sits behind the firewall in a private network and directs client requests to the appropriate backend server. Nginx is a very common go-to. Nginx-proxy-manager is a nice gui version that has some built in tools, like handling SSL Certificates with Let's Encrypt. Nginix can provide load balancing, Web acceleration, Security and anonymity for servers.
Personally I use nginx to proxy all my traffic to my dedicated servers so that I do not have to expose local hosts via port forwarding. This also allows me to do some extra encryption along the way and add additional security via access lists where I see fit. I can also reuse ports, which saves a lot of time for configurations.
# nginx-proxy-manager - docker compose
---
version: "3.8"
services:
  app:
    container_name: nginx-proxy-manager
    image: "jc21/nginx-proxy-manager:latest"
    restart: unless-stopped
    ports:
      - "80:80"
      - "81:81"
      - "443:443"
    volumes:
      - ./data:/data
      - ./letsencrypt:/etc/letsencrypt
Nginx gives you that great routing to your internal networked servers. Also helps you set up your DNS both inside and outside the network. Can be a little confusing at first.
First you will need a route you want to point to. In this case I will use this site.
I want to be able to type in wiki.wompmacho.com and arrive here rather than remembering my IP address and having to set up multiple complicated port forwards in my router. Instead nginx allows me to open one port - 80 and direct all traffic to nginx. Then based on some rules I have set up I can point that traffic to my internal server. For this I will need a domain name server (DNS) to point to my external IP.
DNS
A domain name server (DNS) allows me to make a name that can be easily looked up and point traffic to an Internet Protocol (IP) address that a server can easily understand.
I can type in a name to a browser - my browser will ask my computers dns cache where is google.com and when not found - it will ask my router where is google.com which will then ask the dns server it is pointed to (typically your ISP) who then asks the dns server the ISP is pointing to... and so on until eventually one of the DNS servers contain the information about google.com. Then it can retrieve the IP address of that server and send that information back down the line - adding it to its own cache as it goes so that it does not have to keep looking up this information. This will allow the browser to make requests to that server directly.
In order to make my dns name known so that people can find it on the internet easily, We will have to purchase the name from a host of an Authoritative DNS server. An Authoritative DNS server will not cache the info, but instead act as a primary resource of the configuration for a dns name so other dns servers can ask for that resource.
In this example I have purchased wompmacho.com from cloudflare who operate as a registrar and facilitates purchasing that name from a higher authoritative registry. Allowing me to point my external IP address to this address.
Once I have a DNS name I can use my registar (cloudflare) to point that name to my external IP address (my router's IP address).
Info
wompmacho.com <> 175.222.222.222
Port forwarding
This traffic will then be requested from my router which should be typically set up to block incoming requests. In order to allow a request to my server hosting my site I will need to open a port (80) and allow traffic through my router's firewall to my docker container that is hosting nginx-proxy-manager. Nginx will then redirect this again to my docker container for my site.
A records
For my scenario my dns name is wompmacho.com but if I want to have multiple sites at my IP address I will need to be able to differentiate them. To do this I will use an A record. This allows me to split up my domain with multiple sub domains.
- wiki.wompmacho.com
- subdomain.wompmacho.com
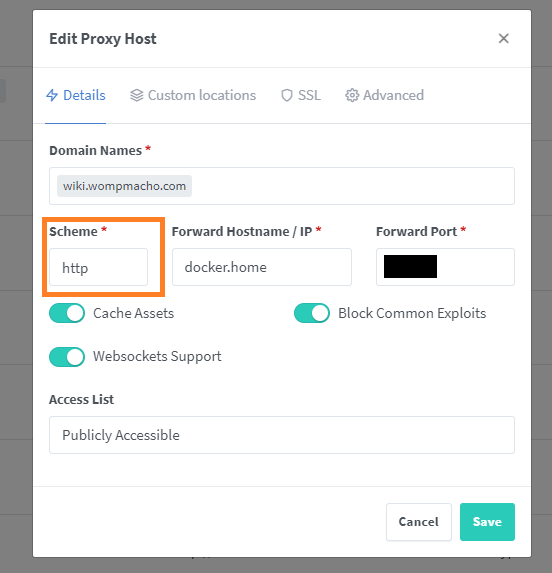
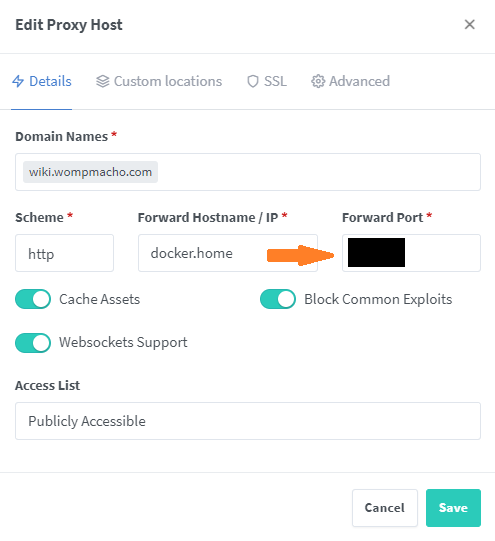
Setting up a proxy
This will point traffic to the same domain (wompmacho.com) but based on the sub-domain nginx will be able to direct and load balance traffic to my internal server hosting the wiki - in this case also my docker container. The wiki is hosted on a different port. We can point this proxy to that port.
Cloudflare DNS Proxy
An example of a dns service is Cloudflare. I switched over to cloudflare when google sold their awesome DNS. I have been loving it since the switch, there is a lot of info out there on services they offer and how to set things up. The biggest reason I switched over to cloudflare is their dns proxy. This allows my home IP to be proxied behind cloudflare services - and helps hide my servers location. This also allows me to utilize their services to block things like botnet attacks.
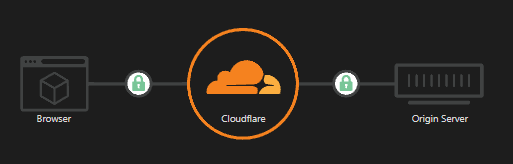
SSL encryption
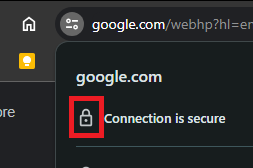
Secure Sockets Layer (SSL) is a security protocol that provides privacy, authentication, and integrity to Internet communications. SSL eventually evolved into Transport Layer Security (TLS). Using Nginx-proxy-manager we can connect our cloudflare DNS to our nginx server using SSL encryption. This is what that lock and https indicates on your browser - you are using a secured and verified connection to the server. This helps stop man in the middle attacks preventing people from spoofing the connection and spying on you.
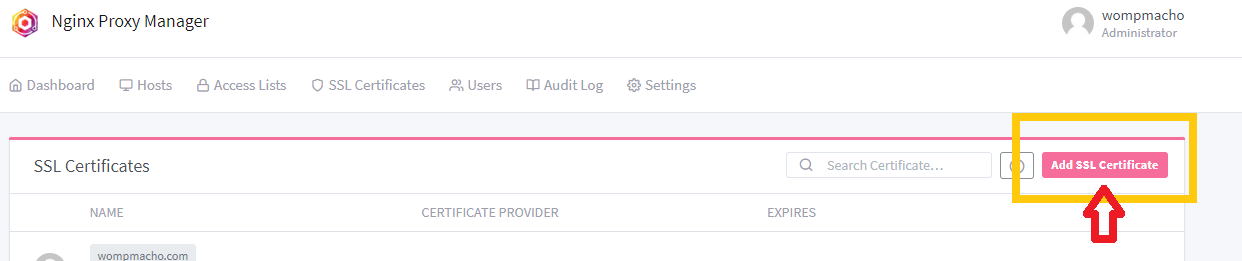
We do this by adding a cloudflare certificate to nginx proxy manager and then setting up our proxy host to use this certificate on the SSL tab.
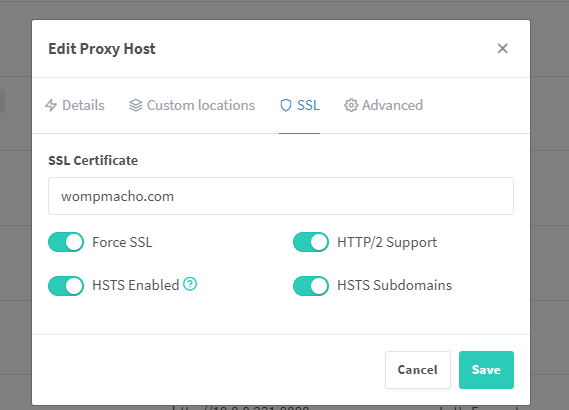
!!! info Note this is is only for a secure connection between nginx <-> cloudflare
The details page is referring to your internal setup - or where nginx should point the dns to.
!!! info origin server <-> nginx
Use https here only if you have ssl setup on your origin server and your server is set up to accept https, otherwise you make get bad gateway 502 errors.